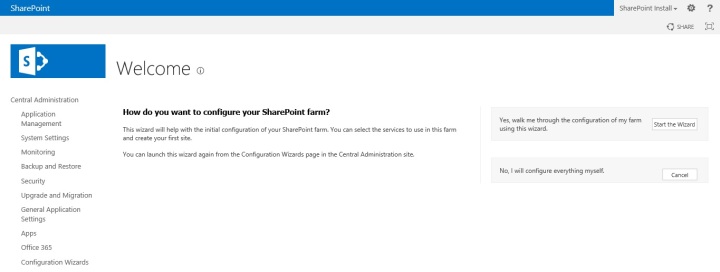
After installing Microsoft SharePoint and executing the Products and Configuration Wizard, a browser is opened asking if you would like to start the SharePoint Farm Configuration Wizard. If you have been a consultant in Microsoft SharePoint for any period of time, you have certainly heard that using the Farm Configuration Wizard to build non-evaluation or demo sites isn’t a great idea. I have reviewed many SharePoint Farms out there and a great number have indeed been installed using this. After talking to the client, I often find out that they paid someone to do this and often time the engagement took weeks. One of the benefits of the Farm Configuration Wizard is that pretty much anyone can do it without knowing anything about Microsoft SharePoint and have things up and running. The bad part about it is that pretty much anyone can do it without knowing anything about Microsoft SharePoint. But how does one get something that was not recommended to something better? Here we will talk about the affects of the Farm Configuration Wizard and how to address the issues. What I won’t tell you is if it is a bad idea or not because to me, as long as you understand how it configures things then the decision should be yours.
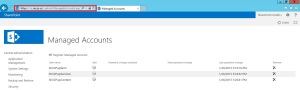
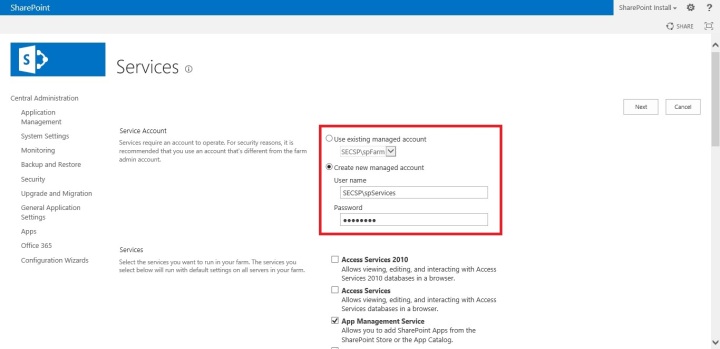
Now before we go to far, there is a “right way” and a “wrong way” to run the Farm Configuration Wizard. The wrong way is to use the same Farm Account (aka Data Access Account) to configure all of the services. This is a little tougher to clean up. It is critical that you create a new SharePoint Managed Account. If you do not, the SharePoint Farm Account is used for absolutely everything! You also want to make sure that the account you use for your Farm Account, isn’t used by anything else and doesn’t have administration rights to anything. The single exception to this rule is that the Farm Account has to be given Local Admin rights to the server that is going to run the User Profile Synchronization Service. It has to be a Local Admin only during the provisioning.
The first tell-tale sign that the Farm Configuration Wizard was used to create your farm is the name of the databases. The wizard applies a GUID behind the database names. While it is quite ugly, technically there is nothing wrong with it. If a service is provisioned multiple times, it would take some work (or Windows PowerShell) to determine which database went with which.
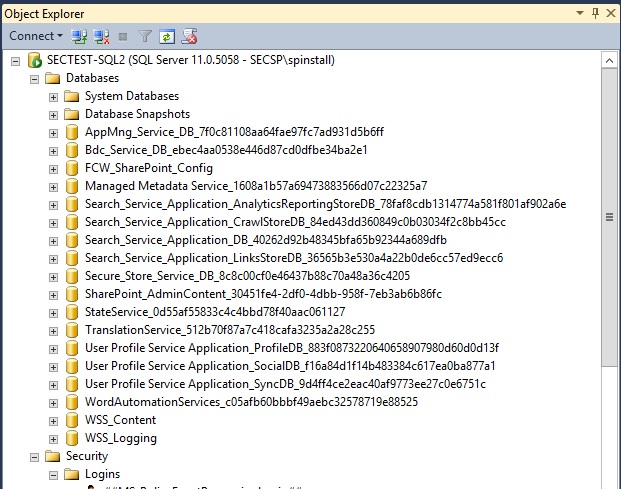
The nice thing about the database naming convention of the Farm Configuration Wizard is that now I have a pretty good idea of how the rest of the farm is configured without having to look at much. My biggest issue with this type of install in a production environment is that there is a good chance that
- Everything is built as non-encrypted SharePoint sites.
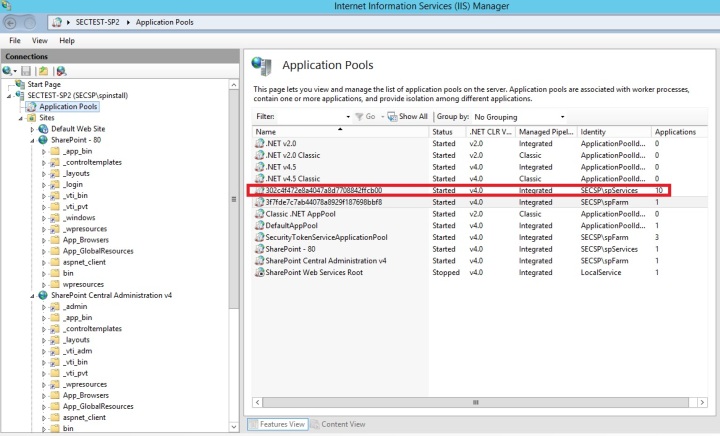
- The SharePoint Services and the SharePoint Web Content Applications are using a shared account
- The wizard does assign ALL of the services to the same Application Pool which is not bad; However, one of these services is the Secure Store Service. Microsoft makes the following recommendation: “Because Secure Store deals with sensitive information, we recommend that you use a separate application server just for the Secure Store Service for better security.”
In reality, I’m not sure either of these last two bullets actually provide any additional security as getting the credentials to a Managed Account is fairly simple. If everything is being hosted over non-encrypted websites, security probably isn’t your priority anyway ~ though, it should be!
The next service to review is Enterprise Search. The Farm Configuration Wizard has configured the Search Content account as the Services Account. This really isn’t that big of an issue as you would most likely need to come in and change this no matter how the service was built. The key here is that:
- The Search Content account will need to have permissions to read content on your network if you want it searched. This means that you wouldn’t want to use a SharePoint Managed Account to do this because of the ease of gaining these credentials. In addition, the Search Content account doesn’t honor the Managed Account contract any way which means that if you change the account password, Search will be broken until you come in and change the Search Content account.
- The User Profile Service Application (UPA) is also configured for the Service Account to search people, so once you fix the Search Content account, that must be updated in the UPA as well. I have seen several references that say you should delete the UPA and recreate it, but no one says why so I doubt the validity of that statement in the 2013 product. I’ll look more into this.
So in wrapping up, the Farm Configuration Wizard is more of a security hole than anything; it is far removed from the least privileges model but the wizard isn’t designed for security. It is designed to help get you up and running quickly. While the wizard is able to use an additional account other than the Farm Account, many implementations do not exercise this so the Farm Account is over used. When a separate account is used, it too gets used for a little more than it should. No matter how you look at it, Microsoft SharePoint requires some planning beyond just running the wizard. Once this is done, Central Administration and the other web applications should be over SSL. If the sites aren’t being exposed outside, then this is even easier since a domain CA will function just fine.